Compiling and finalizing financial plans and forecasts is much harder than it needs to be. The wasted time of tracking various Excel files and the appropriate owners to make updates leads to unnecessary headaches, inefficient processes and ultimately inaccurate results. More often than not, the spider web of emails and Excel file transfers to meet organizational deadlines for budget or forecast submission is a driving reason for implementing a centralized EPM solution such as Oracle’s Hyperion Planning or cloud based PBCS/EPBCS offerings.
Within these applications, a configurable, out-of-the-box feature called Approvals exists to provide a simplistic and efficient structure to the financial planning process, improving transparency at each stage. For each version of a company’s planning scenarios (budget, forecast, what-if, etc.) planners can view changes, delegate ownership, create comments/feedback and lock down that version from one centralized hub. This gives an organization more visibility to status updates and helps users hit deadlines more consistently. Leveraging Approvals is an important step to improving the planning and budgeting process, improving internal controls, and creating overall organizational peace of mind.
Read-on and we will walk you through the configuration elements of Approvals, specifically in an Oracle EPBCS/PBCS application. The process is simple and intuitive; even the lords and ladies from Game of Thrones can leverage the functionality! We will use the hierarchical rule of Westeros to visually illustrate the concepts, even though some of it may be speculation until the next season airs!
The Basics
The approvals feature uses a business’s custom entity hierarchy (geographical location, management responsibility, business unit, etc.) paired with user assignment to create a logical sequence of ownership (we will use the budget/plan scenario in this example). Users can enter data at the management region or business unit they are responsible for only when they are the owner of the plan. After completing the plan for a business unit, users then promote the plan to the next level of the planning hierarchy. The individual or group who is responsible for that level of the hierarchy can promote and approve the plan, modify it themselves, or delegate it back down for further updates. Once a plan has been promoted by a user, the user can no longer make changes unless a higher level owner delegates ownership back down the chain.
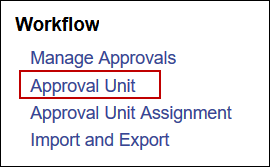
Only users provisioned as Service Administrators can create an Approval Unit. To create an Approval Unit, click the Navigator icon ![]() from the home page and then select Approval Unit under the Workflow section.
from the home page and then select Approval Unit under the Workflow section.
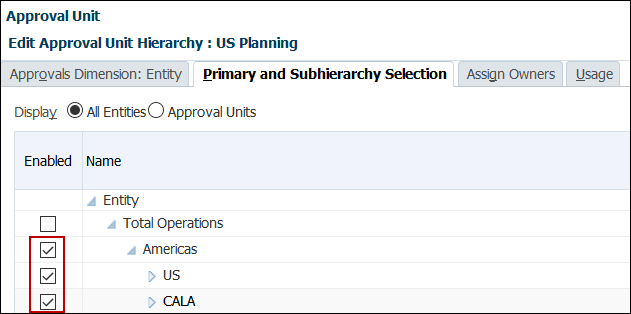
Click the create button ![]() to make a new approval unit. Approvals are driven by the entity hierarchy and combination of the scenario and version dimensions. In this example, we are going to use geographical regions in the entity dimension, but as noted earlier this can be applied to any entity structure. Select the entity members to include in the approvals process.
to make a new approval unit. Approvals are driven by the entity hierarchy and combination of the scenario and version dimensions. In this example, we are going to use geographical regions in the entity dimension, but as noted earlier this can be applied to any entity structure. Select the entity members to include in the approvals process.
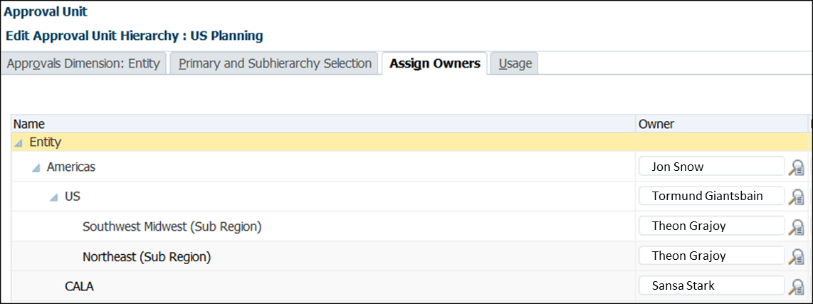
After selecting the entity members that will be part of the Approval Unit you are prompted to assign owners to each entity. The owner of the entity should be the individual or group of individuals who are responsible for planning at that entity. All users who are provisioned to edit a given entity will be able to make changes until the owner signs off and promotes the plan. Once promoted, the plan will become read-only to those users.
You can select an individual or a group to be the owner and reviewer of an entity. Any current owner can edit the plan until that owner promotes the plan up the hierarchy. You can have only one owner per entity, but you can have a group with multiple users be an owner. You are allowed to have multiple reviewers for each entity. In our example below there is only one owner at each entity rolling up to the true King of the North, Jon Snow.
Once the Approval Unit has been created, you have to designate which scenarios/versions will be valid for the Approval Unit (e.g. forecast/what-if, budget/working. Click on the Navigator icon and select Approval Unit Assignment.

Click the ‘Actions’ button to add a scenario and version to the Approval Unit. If necessary, you can add many different combinations of scenario and version members.

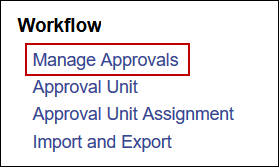
Finally, in order to initialize the approval process click the Navigator icon ![]() and select Manage Approvals.
and select Manage Approvals.
Select the scenario and version combination to initialize the approval process and click the Go button. Next click the View dropdown menu and select Tree View.

Drill into your Approval Unit and toggle Plan Cycle to Start. From Tree View you can reset the approvals process if necessary by excluding and then restarting Approval Unit members. An administrator may have to restart the approvals process at the beginning of a planning cycle or if multiple versions of a plan are utilized.

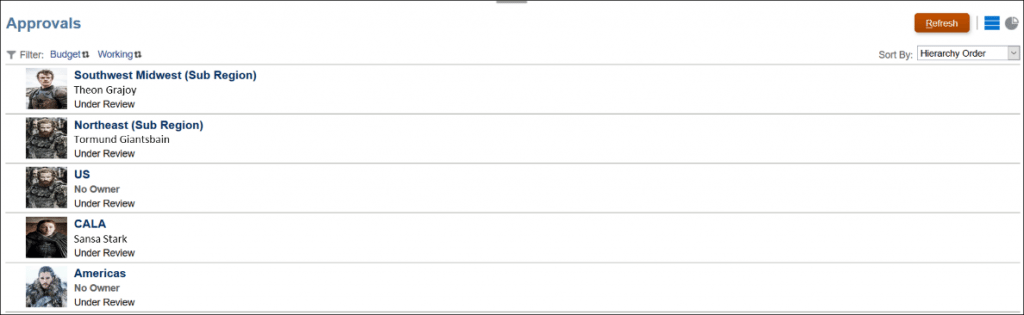
Once you have kicked off the Approval Unit you can view the promotional path, history, and any notes made by users by clicking the Path and Details icons on the right. The screenshot below shows the entity hierarchy and current owners and status of each entity. Parent level entities will show No Owner until the entities below it have been promoted. Management can be notified by an email notification (or possibly carrier pigeon/raven!), when the plan is ready for their review and approval.
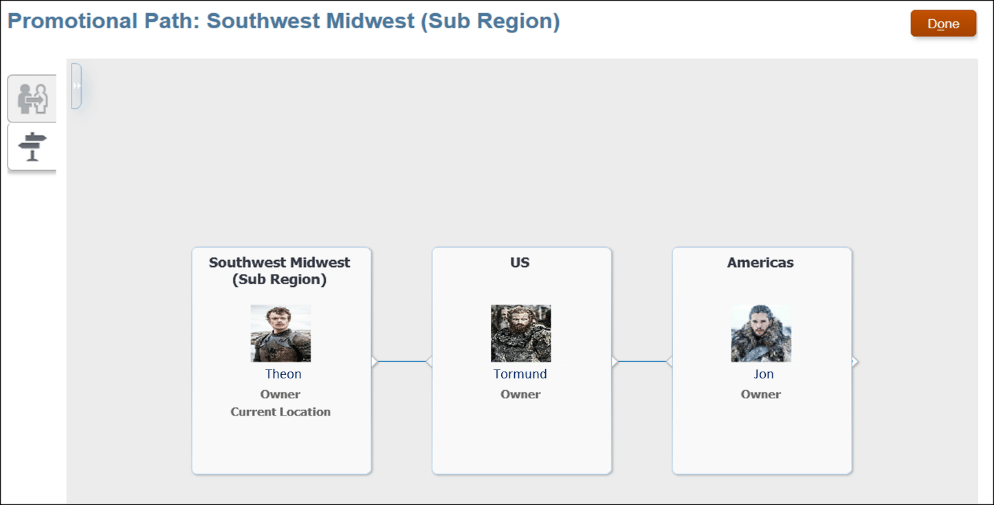
Click on an entity to view the promotional path:
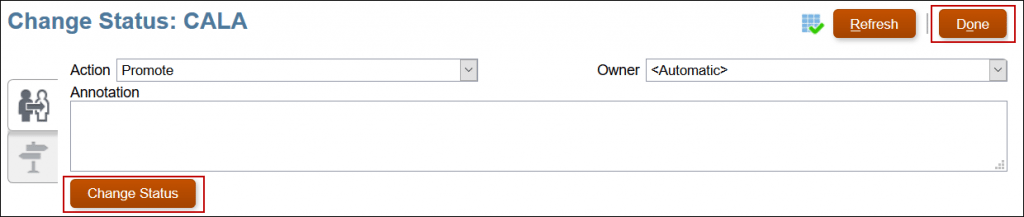
Planners will only see the Approval Units that they are assigned. The screenshot below shows the view of a Sansa Stark responsible for the CALA region. She is currently the owner of the plan.

When this user is done making changes to the plan, she will promote it up to the next level of the hierarchy. To promote the plan, click on the entity name, change the Action to Promote and then click Change Status.
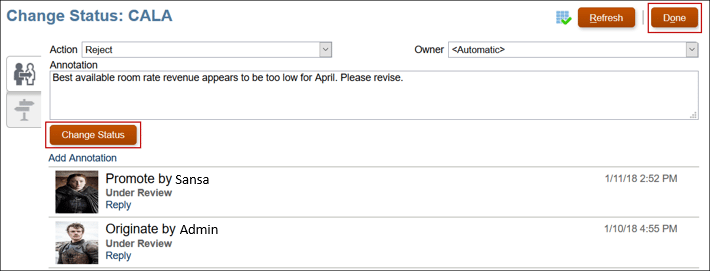
Now Jon Snow, head of The Americas region and one true king, is the owner of the plan and no one else can make changes. Jon Snow has the opportunity to sign off and approve the plan or send it back down the hierarchy for further updates to ensure the North is ready for any attack. The screenshot below shows Jon Snow, the owner, sending the plan back down to the lower regions.
Reports
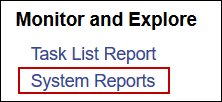
Users can also run an Excel, PDF, XML, or HTML report to view the status within the approvals process. Click the Navigator icon ![]() and then select System Reports under Monitor and Explore.
and then select System Reports under Monitor and Explore.
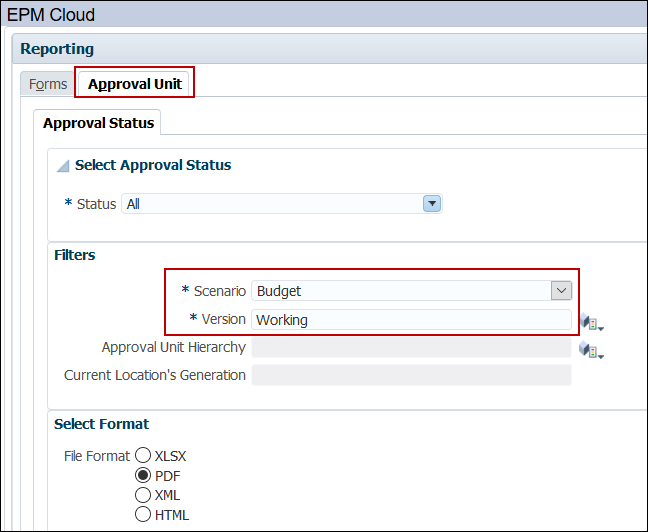
Toggle to the Approval Unit tab, select the scenario and version, and file format and then click Create Report.
Wrapping Up
Approvals is a tool that any organization should utilize during the planning process. It is simple to set-up with flexibility to use across multiple scenarios, versions and custom dimensions. Management will recognize the clear transparency from the start of compiling a plan to final sign-off, and everyday users benefit from always knowing where the most accurate and up-to-date data sits.
If you have any questions or are having trouble, we’d love to hear from you. You can reach out to one of our Business Architechs here. We’d be more than happy to see how we can help.