Over the years of providing Oracle-Hyperion consulting services, one question that comes up quite often is “can we rename our application?” And while we used to dread the question, now, the simple answer is yes!
There are a few scenarios which we have frequently seen where an application and/or cube name needs an update:
- Maybe your company is going through a re-branding initiative, which can range from redesigning a logo to completely changing a company name, as was the case when BackRub became Google. Can you imagine Google having a legacy Planning application named BackRub?
- You might be in the middle of a planning implementation when the business decides it would like to transition away from the originally agreed upon name. A company preparing to migrate to the latest version of planning may decide it would also like to update the application name. Changing the application name is an easy way for end users to differentiate between the old and new system. Changing the application name will also help avoid confusion when trying to refer to one of the two systems.
- As consultants, we find that a beneficial utilization of this process is for demo applications. Potential clients generally want to see a proof of concept. Changing a demo application name from something like DemoApp to the client’s name can go a long way in helping the client visualize their company using the system. This gives us the ability to personalize a demo without losing the flexibility to reuse the same demo.
Change happens, and unfortunately Oracle does not provide an out-of-the-box method to change an application or cube name once it has been created. Fortunately with a little creative thinking, we can indeed re-brand and transform BackRub into Google! The process to do so is relatively straight-forward, you just need be willing to get down and dirty in migration files, and perform a quick application DELETE! Nothing intimidating about that, right? Don’t’ worry, we have outlined the tried and tested process below:
- Use LCM to back-up all artifacts.
- Edit the backup files replacing the old application/cube name with the new.
- Delete the application.
- Re-import the updated files.
- Update the reporting database connection to point to the new application.
- Verify and test the system.
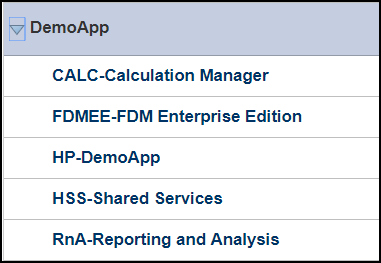
The process to update an application or cube name is very similar between PBCS and classic on-premises Planning applications. For this example, we will rename Oracle’s PBCS demo application, Vision, to DemoApp. If possible, perform this activity in a test or development environment and make sure comprehensive backups have been taken. You will also need to ensure no other unintended application artifacts’ names will be changed as a result of this process. For example, when renaming Vision to DemoApp, we had to ensure that ‘provisioning’ was not changed to ‘proDemoApping.’
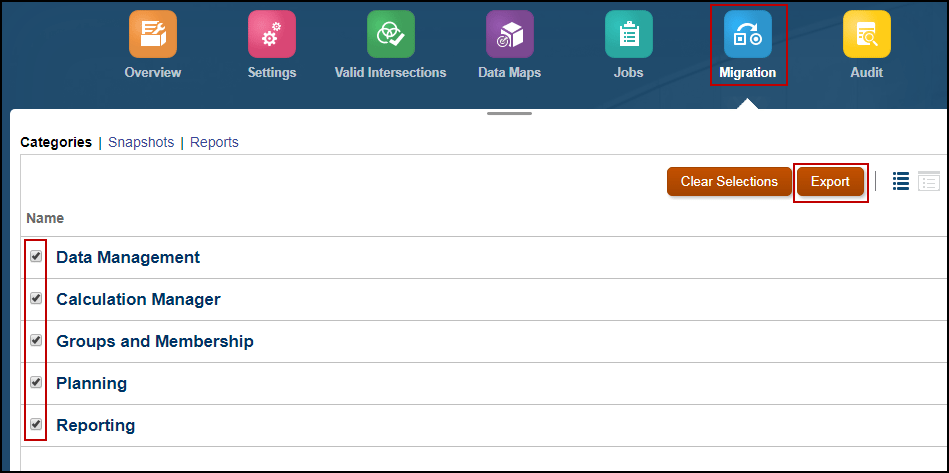
To start, navigate to the Migration tab and export all categories. The categories can be exported in a group, or individually to aid with organization. For demonstration purposes, all categories have been exported to a single zipped file folder.
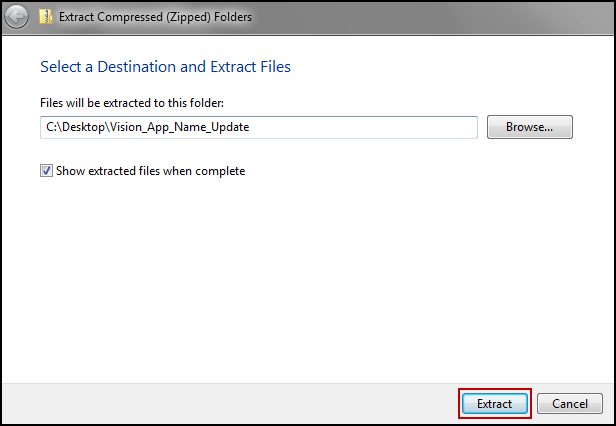
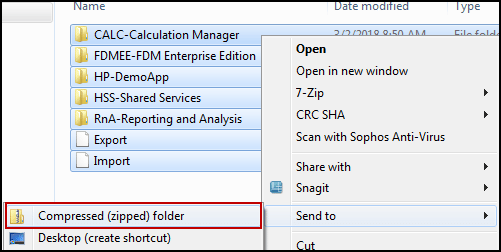
Download, save, and extract the zipped file folder.
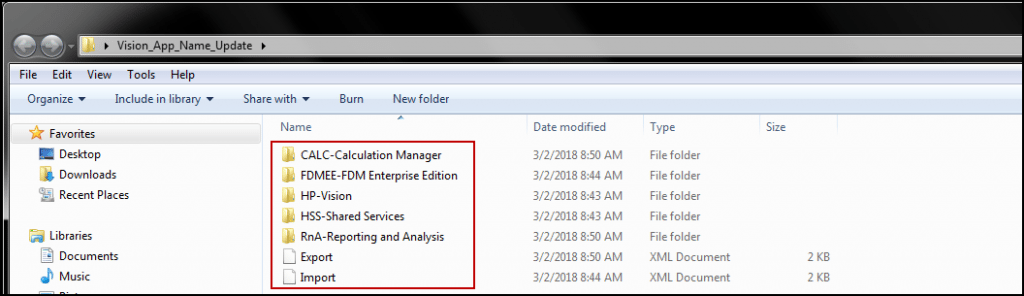
Navigate to the snapshot file folder. If all categories were taken in a single snapshot you will see all of them listed as seperate folders, along with Import and Export XML files.
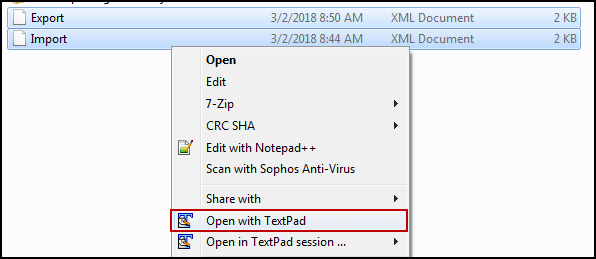
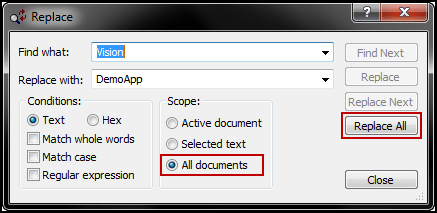
Any file containing the old application name, in our case, Vision, will need to be opened and changed to the new application name DemoApp. To easily edit multiple documents at once, use a text editing program like TextPad or Notepad++.
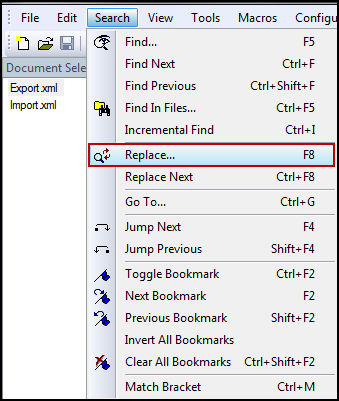
It is recommended to focus on one category at a time, opening all files within that category, and performing a “Replace All” on all instances.
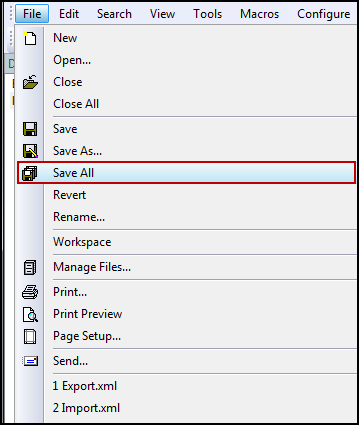
After editing, be sure to save all of the files back to their original locations.
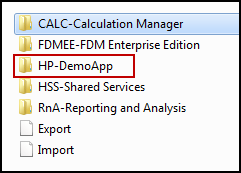
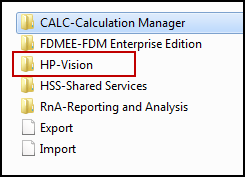
All file folders that are named after the old application will also need to be updated.
Once all files and file folders have been updated to reflect the new application name, zip the files folders.
Upload the updated snapshot to workspace.
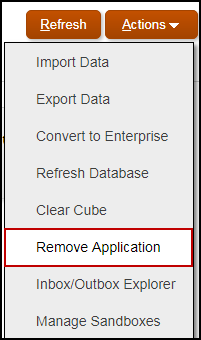
Once the application snapshot has been uploaded, delete the current application…this is the part where you’re going to want to ensure you have those backups…just in case!
Once the application has been deleted, navigate back to the Migration tab and import the new snapshot.

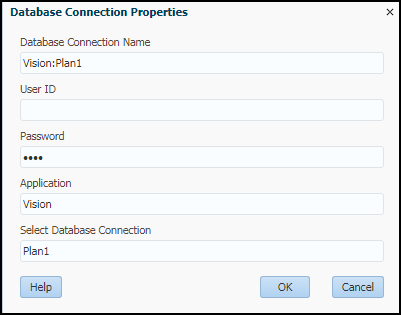
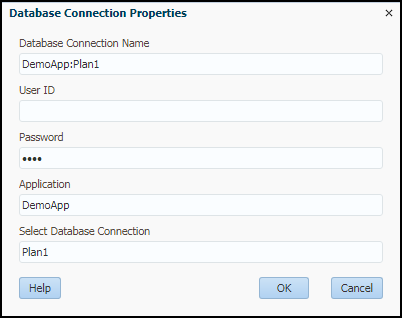
Once all categories have been successfully imported navigate to the Explore Repository. Open the Database Connection Manager and edit any existing database connections to point to the new application or cube.
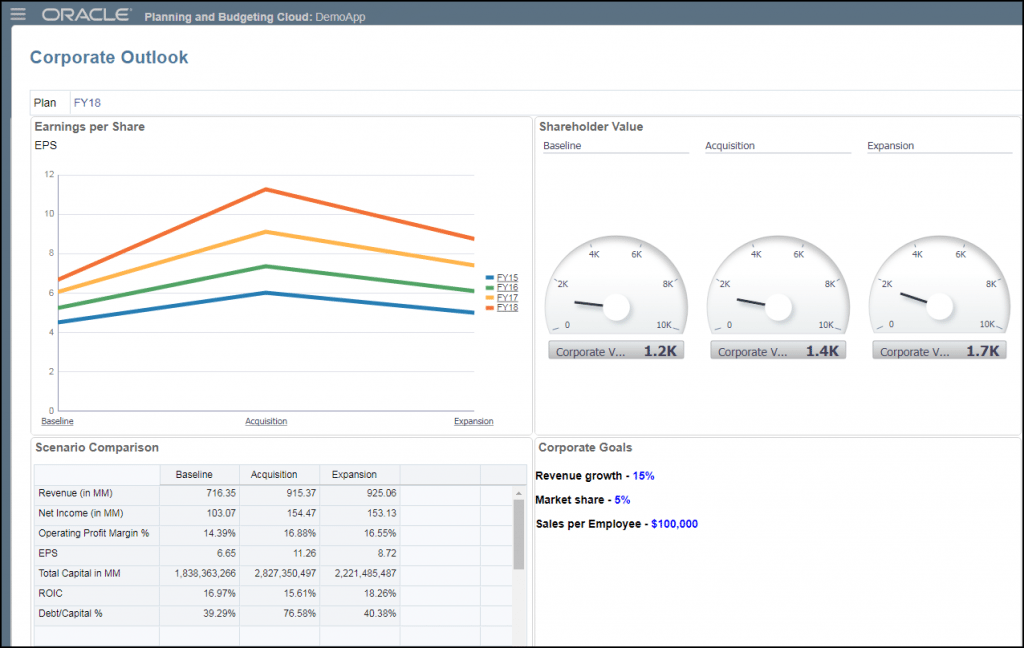
Test the application to ensure that the only difference between the new and old application is the name change.
After following the steps above, you are now a certified Hyperion Hacker and have done the undoable! Stay tuned for more blogs in this series coming soon.